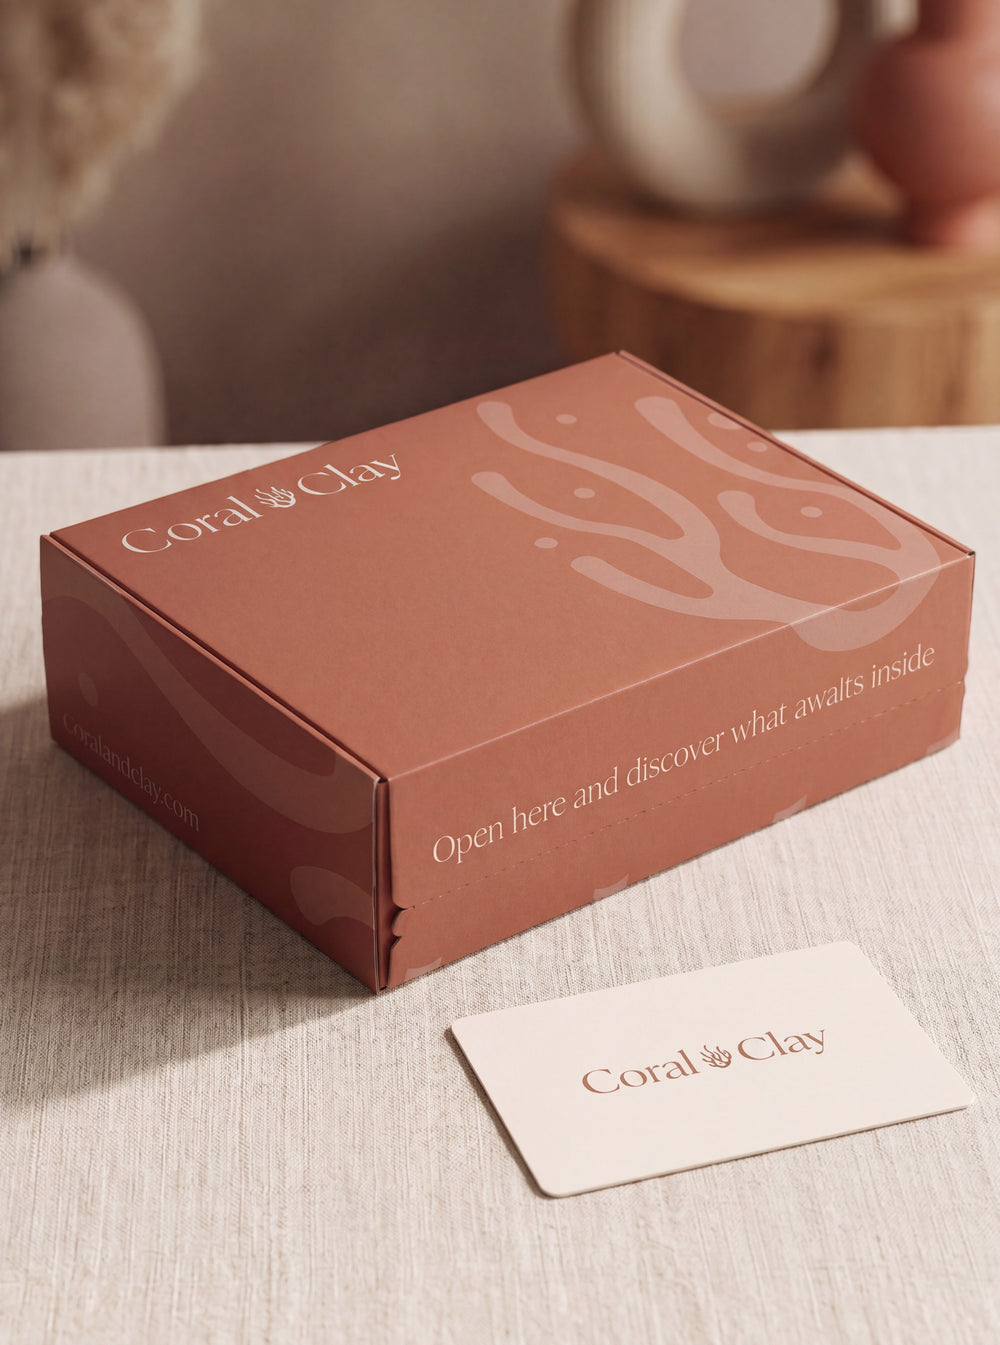
Branding a promotional gift is a production task, not a matter of pasting a logo onto a mock-up. The material, decoration method, printable area and viewing angle all affect the result. A strong approval process protects both the object and the brand.
This guide covers artwork and proofing. If you are deciding which item people will genuinely keep, start with our guide to choosing high-end promotional gifts.
Approve the product before the artwork
Confirm the exact item, colour, size, material and variant. Supplier templates and printable areas can change between products that look almost identical.
Record:
- supplier product code and variant;
- material and surface finish;
- product dimensions and orientation;
- decoration method offered;
- maximum and recommended artwork area;
- number of decoration positions;
- minimum line, text and gap requirements;
- expected colour or position tolerance.
Do not build final artwork on a catalogue screenshot. Ask for the production template associated with the confirmed item and method.
Create one approved brand-asset pack
A production-ready asset pack should contain only current, approved files:
- primary and secondary logos in vector format;
- positive, reversed and single-colour versions;
- clear-space and minimum-size rules;
- approved brand colour references;
- typefaces or outlined artwork according to the supplier requirement;
- approved campaign copy and translations;
- rules for partner or event logos;
- a contact who can approve exceptions.
Remove obsolete logos and drafts from the delivery folder. A printer cannot know that “logo_final_v7_new.ai” has been replaced unless the handover is explicit.
Confirm the right to use every element
Obtain approval for logos, illustrations, photographs, typefaces, partner marks and event identities before production. The EUIPO explains that a trade mark identifies and distinguishes a business’s products or services and forms part of its intellectual property. Its trade mark guidance is a useful starting point.
Do not assume that access to a logo file gives unlimited permission to place it on merchandise. Confirm territory, campaign, partner and licence conditions where relevant. Seek specialist advice when rights are unclear; this article is not legal advice.
Choose a decoration method for the material
| Method | Often considered for | Questions to ask |
|---|---|---|
| Pad or screen printing | Defined logos on suitable flat or curved surfaces | Number of colours, opacity, registration and wear resistance |
| Digital printing | Multi-colour graphics or variable artwork on compatible surfaces | Colour gamut, white-ink support, resolution and durability |
| Laser engraving | Metal, wood and selected coated surfaces | Resulting colour, contrast, depth and variation in natural material |
| Embroidery | Textiles, caps, bags and selected soft goods | Stitch count, smallest detail, backing and effect on the reverse |
| Embossing or debossing | Leather alternatives, paper and selected soft surfaces | Depth, heat response, detail and suitable artwork weight |
| Transfer | Textiles and complex multi-colour marks | Hand feel, edge, wash performance and colour behaviour |
The supplier should confirm the method for the exact product. Natural and textured materials can vary between units; a process that works on one substrate may produce a different result on another.
Design for the available area
Start with the actual decoration area, then simplify. Check:
- minimum readable text size;
- minimum positive and reversed line thickness;
- space between separate elements;
- distance from edges, seams, lids and moving parts;
- distortion on curved or tapered surfaces;
- orientation when the product is used;
- whether a hand, cable, clip or cap covers the mark.
A logo that technically fits can still feel crowded. Use the recommended area as a boundary, not a target to fill.
Place the brand where it supports use
View the physical product from several positions:
- as it is handed over;
- while it is used;
- while it is stored on a desk or shelf;
- in a photograph;
- inside any packaging or insert.
Prominent branding can help at an event, but it can reduce long-term use when the object feels like advertising. A discreet mark, branded packaging or removable campaign card may achieve a better balance.
Specify colour with physical reality in mind
Provide the brand’s approved colour references, but ask how the production process interprets them. Screen colour, process print, spot ink, thread, foil and engraving are not interchangeable.
Confirm:
- whether the supplier uses spot or process colours;
- how the product’s base colour affects the result;
- whether white underprint is required;
- which tolerance or closest-match rule applies;
- whether different batches may vary;
- which physical reference will govern approval.
A digital proof shows intended colour relationships; it cannot prove the final physical colour on a specific material.
Prepare clean artwork files
Follow the supplier’s specification. A robust handover normally includes:
- vector artwork at the required scale;
- outlined fonts where requested;
- embedded or properly linked images;
- separate named colours and decoration layers;
- no hidden draft elements;
- no unintended overprint, transparency or clipping issue;
- a clear filename with project, product, position and revision;
- a reference PDF showing the intended appearance.
Keep the production template on a non-printing layer if the supplier requests it. Do not move, resize or redraw the template without written confirmation.
Control co-branding
When two or more organisations appear together, agree:
- logo order and relative scale;
- required clear space;
- divider or lock-up rules;
- colour treatment on the selected product;
- which organisation approves the combined artwork;
- whether each mark may appear on the product, packaging and campaign materials.
Do not let production deadlines resolve a brand-governance disagreement. Obtain one consolidated approval before files reach the supplier.
Use personalisation deliberately
Names, teams, dates or short messages can add relevance, but variable data creates new failure points. Decide whether personalisation belongs on the product, card, sleeve or shipping label.
For variable production:
- use one approved data file;
- define capitalisation and special-character rules;
- set a final correction deadline;
- flag missing values rather than inventing them;
- generate a proof or data preview;
- agree the order in which units will be packed;
- keep personal data access limited to the fulfilment need.
A personalised card is often easier to correct and reuse than permanently personalised merchandise.
Understand the proofing stages
Template proof
Confirms the selected product, decoration area and production template.
Artwork proof
Shows dimensions, position, colours, copy and production notes. Check measurements rather than approving by appearance alone.
Digital product visual
Helps stakeholders understand scale and orientation. It is not evidence of physical colour, material feel or decoration durability.
Physical or pre-production sample
May help assess the real result, but availability, cost, timing and approval status depend on the supplier and project. Confirm whether it is representative of the production method and whether changes after approval require another sample.
Production reference
The final approved proof, artwork file, product specification and written notes together form the inspection reference.
Approve with comments that can be produced
Replace vague feedback such as “make it more premium” with a measurable instruction:
- reduce logo width from 45 mm to 38 mm;
- move the mark 6 mm away from the seam;
- use the approved one-colour reversed logo;
- increase the smallest line to the supplier minimum;
- replace the campaign date with the approved evergreen message.
One person should consolidate feedback. Conflicting comments from Marketing, Events and leadership should be resolved internally before a revision is requested.
Protect required product information
Branding must not cover safety information, instructions, product identification, warnings or other required marks. Ask the supplier which areas must remain clear and which product-specific rules apply.
Do not remove or imitate compliance markings in the artwork. Decoration approval and product compliance are separate checks.
Inspect the production result
Compare a representative sample with the approved reference:
- correct product, variant and decoration position;
- logo size, orientation and clear space;
- spelling, dates and personalisation;
- colour and contrast within the agreed tolerance;
- clean edges, registration and surface condition;
- working lids, zips, buttons or other components;
- required information still visible;
- correct packing and recipient allocation.
Define acceptable variation before inspection. Isolate defects and photograph the issue rather than letting different packers make their own decisions.
Artwork and proofing checklist
- The exact product and decoration method are confirmed.
- Only current, approved brand assets are in the handover.
- Permission exists for every logo and creative element.
- Artwork respects the real printable area and product use.
- Colour references and physical limitations are documented.
- Co-branding has one consolidated approval.
- Personalisation uses controlled data and a final deadline.
- Digital visuals are not mistaken for physical proof.
- Required product information remains visible.
- Production is inspected against a retained reference.
Make branding part of the complete gift
We develop promotional and event-gifting concepts that combine selected products, suitable decoration, presentation, message and EU delivery planning. The method and availability are confirmed for each product and brief. Request an event-gift proposal.