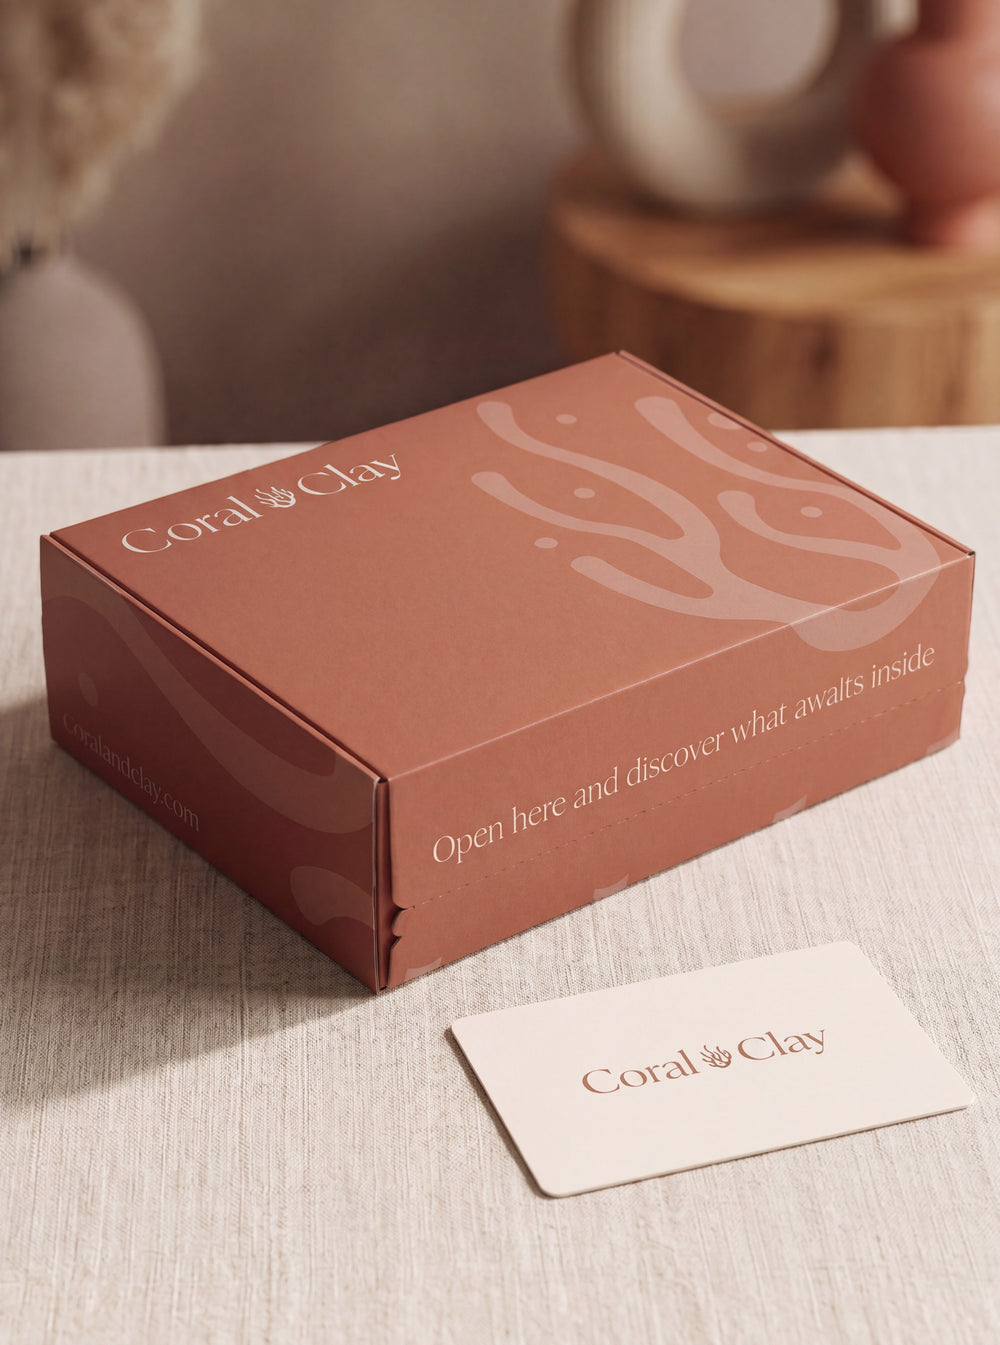
A custom printed gift box is a packaging project before it is a print project. The structure must protect the contents, survive delivery, open well and present the gift in the intended order. Only then should colour, logos and finishes be approved.
This guide explains the decisions between a brand brief and a production-ready box. If you are still deciding how the products, message and branding should work together, start with our guide to creating a branded gift set.
Define the job of the box
Write a packaging brief that answers:
- Who receives the gift?
- What occasion or campaign does it support?
- Which products must fit, in what order?
- Will the box be handed over, placed in a shipping carton or sent as the parcel itself?
- Does it need to be stored flat or assembled in advance?
- Which surfaces can carry artwork?
- What should the recipient see first when opening it?
- What happens to the packaging after use?
A box for a conference handover has different demands from one travelling through a parcel network. A beautiful closure that opens well on a desk may still be unsuitable inside an automated shipping process.
Separate structural and graphic decisions
| Structural decisions | Graphic decisions |
|---|---|
| Internal and external dimensions | Logo position and clear space |
| Board or carton material | Brand colours and colour references |
| Lid, flap, sleeve or closure | Typography and message hierarchy |
| Product support and insert | Inside and outside print areas |
| Finished weight and shipping protection | Illustration, pattern and photography |
| Assembly and packing method | Finishes such as foil, embossing or spot effects |
Approve the structure first when product fit is critical. Changing a box dimension after artwork has been built can move folds, crop text and invalidate the entire design file.
Choose a structure that fits the delivery model
Rigid presentation box
A rigid box can create a substantial opening experience and support interior printing or fitted components. It takes storage space and usually needs a separate transport solution, so include finished dimensions and warehouse handling in the decision.
Folding carton
A folding construction may arrive flat and be assembled during packing. It can reduce storage volume, but the design must account for folds, locking tabs and the time required to build each unit.
Printed mailer
A mailer-style construction may combine presentation and transport more directly. Confirm whether the printed surface will receive labels, tape, scuffs or carrier marks and whether an outer protective layer is still required.
Standard box with a printed sleeve or insert
This can be a sensible route for smaller quantities, shorter campaigns or artwork likely to change. Compare the total experience, assembly time and material use—not only the unit price.
Measure the contents as a packed system
Do not calculate box size from product dimensions added together. Pack the intended contents with tissue, dividers, inserts, cards and protection. Then test:
- movement when the closed box is tilted and gently shaken;
- pressure on fragile lids, pumps, glass or seals;
- whether tall products push against the lid;
- space needed to remove the first item;
- whether printed information remains visible;
- finished weight and balance;
- how substitutions affect the layout.
A few millimetres can determine whether the gift feels precise or cramped. Keep an approved packing diagram so different packers reproduce the same presentation.
Request the correct dieline
The packaging supplier should provide the production dieline or template for the final structure. This file maps cut lines, folds, glue areas and printable surfaces. Never rebuild it from a screenshot or an old box with similar dimensions.
Confirm:
- final dimensions and version number;
- which lines are cuts, folds and perforations;
- bleed and safe-area requirements;
- non-printing glue, magnet or closure areas;
- orientation of every panel after assembly;
- inside and outside print layers;
- required file format and colour profile.
Name the approved dieline clearly and lock it before the graphic designer begins final artwork.
Build production-ready artwork
Follow the printer’s own specification, but a robust handover normally includes:
- vector logos rather than low-resolution screenshots;
- linked or embedded high-resolution images;
- fonts embedded or converted according to the printer’s requirement;
- defined spot colours or process-colour values;
- bleed extended beyond cut edges;
- text and essential marks inside the safe area;
- separate layers for cutting, folding, white ink, foil or varnish where requested;
- a clean filename containing project, structure and revision.
Ask how the selected material affects colour. Uncoated, kraft, coloured or textured surfaces can change the result. White ink may be needed beneath colour on some substrates. A brand colour viewed on a backlit screen is not a reliable physical reference by itself.
Control the hierarchy across every panel
Map what the recipient sees in sequence:
- the outside before opening;
- the inside lid or first reveal;
- the products and their arrangement;
- the card, insert or next action;
- any information needed after the gift is used.
A logo does not need to appear at maximum size on every surface. Use the outside to identify the sender, the inside to carry the occasion or message and the card for personalised detail. This keeps the box branded without making the contents feel like promotional stock.
Proof copy as carefully as graphics
Create one content sheet containing every piece of text, then compare it with the final artwork. Check:
- recipient and company names;
- dates, quantities and destinations;
- spelling, punctuation and diacritics;
- website paths, QR codes and contact details;
- product, allergen, safety or disposal information that must remain available;
- legal marks or supplier details where applicable;
- language version assigned to each recipient group.
Scan QR codes from a printed proof at realistic size. A technically valid code can still be difficult to use if contrast, quiet space or placement is poor.
Understand the proofing stages
A digital mock-up helps confirm artwork placement and hierarchy. It does not prove the physical colour, material feel, closure strength or product fit.
For many projects, the practical approval path is:
- structural specification and dieline;
- flat artwork review;
- assembled digital visual;
- printer’s technical preflight;
- approved production proof or sample route where agreed;
- production sign-off.
Do not assume a custom-branded physical sample is routinely available. It is an exceptional, project-specific possibility for sufficiently large prospective work and can carry substantial cost. Availability, price, timing and treatment must be confirmed in writing. An unbranded packaging example can still help assess standard structure and presentation.
Choose print and finish for a reason
Ask the supplier to recommend the production method for the material, quantity, artwork and quality requirement. Digital, lithographic, flexographic and screen processes have different setup needs and results; the right answer is project-specific.
Use special finishes selectively:
- foil for a controlled metallic detail;
- embossing or debossing for tactile hierarchy;
- spot varnish for contrast on a suitable surface;
- lamination or coating where protection is genuinely needed;
- interior print where the reveal carries part of the message.
Each finish can affect cost, lead time, recyclability, minimum quantity and registration tolerance. Ask what it changes before approving it.
Compare quantity routes honestly
Fully printed packaging often becomes more economical from roughly 10–20 boxes, but the actual point depends on structure, print method, artwork, finishes and supplier setup. Do not treat that range as a universal minimum or quote.
For a decision, compare:
- standard packaging with card only;
- standard packaging with printed sleeve or insert;
- one-colour or limited-area print;
- fully printed outside;
- inside and outside print;
- custom structure plus full print.
Include design, setup, assembly, storage and unused packaging—not just box price. Campaign-specific packaging can become waste if quantities or artwork dates change.
Build the timeline from approval, not delivery
Branded packaging normally needs approximately two weeks of production after design approval. That excludes concept development, structural selection, artwork, sourcing, packing and delivery.
A useful sequence is:
- freeze products and delivery model;
- approve structure and dieline;
- create and proof artwork;
- complete printer preflight;
- give written production approval;
- manufacture and quality-check boxes;
- assemble, pack and inspect gifts;
- dispatch with the appropriate transport protection.
Late artwork changes reset more than the design task. They can affect plate setup, material orders, production slots and packing dates.
Account for EU packaging requirements
Regulation (EU) 2025/40 on packaging and packaging waste entered into force in 2025 and applies from 12 August 2026. It establishes sustainability and labelling requirements across the packaging life cycle and applies broadly to packaging placed on the EU market. See the EUR-Lex summary of the Packaging and Packaging Waste Regulation.
The precise obligations and transition dates depend on the packaging, material and economic operator. Ask the packaging supplier to confirm applicable composition, labelling, documentation and extended-producer-responsibility requirements for the destination. Do not place unverified recycling or environmental claims in the artwork.
Inspect production before packing
Check a representative sample against the approved reference:
- dimensions and assembly;
- print position and panel orientation;
- colour consistency within agreed tolerance;
- scuffs, glue, dents or delamination;
- closure and opening action;
- inside and outside artwork;
- fit with the final products and insert;
- barcode, QR code and required information;
- outer shipping protection.
Define what counts as acceptable variation before the full packing run. Photograph and isolate defects rather than letting packers make individual judgement calls.
Custom printed gift-box checklist
- The audience, occasion, products and delivery model are confirmed.
- The structure has been tested with the complete packed contents.
- The supplier issued the final production dieline.
- Artwork meets bleed, safe-area, colour and file requirements.
- All copy, links, codes and required information are proofed.
- Digital visuals are not being mistaken for physical colour or fit approval.
- Print methods and finishes have a clear purpose.
- The quantity comparison includes setup, storage and unused stock.
- The schedule includes design, production, packing and delivery separately.
- Applicable EU packaging requirements have been checked.
- Production samples pass the agreed quality standard before packing.
How one project moved from unbranded to fully white-label
A Qualtrics conference-speaker project provides a useful production example. An initial Amsterdam order used unbranded packaging. A later order for Munich and Paris used fully white-labelled boxes with custom printing inside and out, applying Qualtrics’ brand colours, logo and message alongside a coordinated greeting card.
The example shows why the packaging route should follow the project stage. A standard or unbranded first order can establish the selected contents and packing workflow, while a later branded version requires separate artwork, approvals and production planning.
Design the box and gift as one system
The strongest printed gift boxes do not treat packaging as a decorative shell. Structure, artwork, contents, message and delivery protection support the same recipient experience.
We develop custom branded gift-box concepts around the brief, products, artwork and EU delivery plan. Request a branded gift-box proposal.